Service | Verification | DAkkS calibration
Trust is measurable – with DAkkS calibration
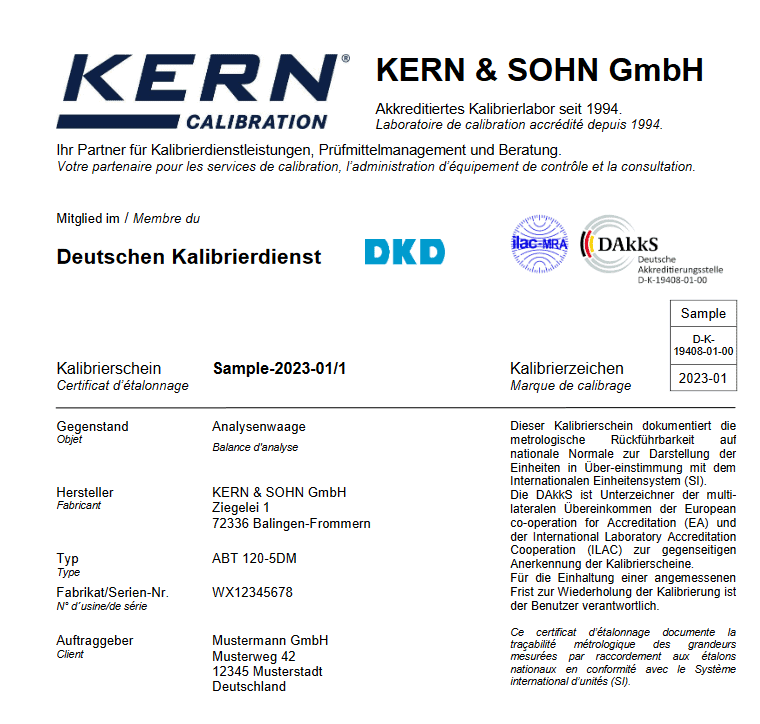
Safety, quality and trust pay off – even if they are not required by law. DAkkS calibration is the most reliable way to prove that your measuring equipment is working accurately – independently tested, documented and traceable to international standards. For you, this means reliable audits, fewer complaints and a clear quality statement to customers, partners and authorities.
Even if you are not legally obliged to carry out DAkkS calibration, it has long been common practice in many industries – not least as a competitive advantage. After all, being able to provide credible proof of quality creates trust and saves costs in the long term.
What is a DAkkS calibration?
The DAkkS (German Accreditation Body) is the national accreditation body of the Federal Republic of Germany. Calibration by a DAkkS-accredited laboratory meets the highest requirements for accuracy, documentation and traceability – in accordance with the international standard DIN EN ISO/IEC 17025.
This means that the measured values of your scales and test equipment are compared with national standards – with maximum testing competence, independently and audit-proof.
When is a DAkkS calibration useful?
- When your customers expect high quality standards
- For certifications (e.g. ISO 9001, IATF 16949)
- To reduce measurement uncertainties and risks
- For audit and process reliability
- As a confidence-building measure in competition
DAkkS Calibration Service DKD
Our specialist weighing company arranges calibrations in cooperation with the DAkkS-accredited calibration laboratory of KERN & SOHN GmbH.
Book calibration in the scale store

What else you should know about scale calibrations!
A scale is only as good as its accuracy – and this can only be guaranteed through regular calibration. Anyone who depends on reliable measurement results in industry, laboratories or quality management must ensure that the displayed values correspond to reality. Calibration is the central instrument for checking the accuracy of measurements.
Where does DAkkS calibration come from – and why is it so well established?
Originally coming from the automotive and aviation industries, DAkkS calibration has now established itself in almost all quality-relevant sectors – from pharmaceuticals and logistics to the food industry. The reason: precise, standard-compliant measurements are essential in highly regulated markets. And even in less regulated sectors, the pressure to prove quality and reliability is increasing.
When and why to calibrate
A scale should always be calibrated if it is used in quality-relevant processes – especially within the framework of certified QM systems such as ISO 9001, VDA 6.1, TS 16949 or GMP/GLP. Depending on the requirements, an ISO calibration or – for maximum metrological reliability – a DAkkS calibration by an accredited laboratory is used. This laboratory tests the scales under strictly documented conditions and issues a standard-compliant calibration certificate.
What happens during calibration
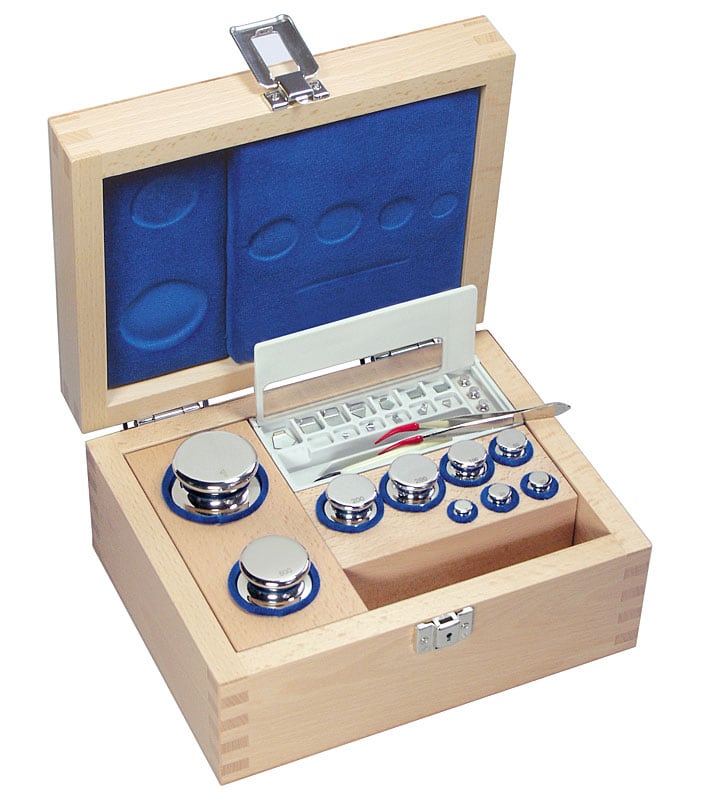
Calibration means loading the scale with traceable test weights and recording the measured values. This does not interfere with the technology – unlike adjustment. Every scale has a certain measurement uncertainty, which is made transparent during calibration.
Only test weights of defined OIML classes (e.g. F1) that are regularly calibrated are used. An F1 weight of 100 g, for example, may deviate by a maximum of ±50 mg. Each weight is documented and has a calibration certificate and serial number.
The process at ESSMANN
Calibration is carried out either directly on site or in our service center – the more economical solution depending on the number of devices and logistics.
Our specialists check the scales for damage in advance, clean them and carry out the calibration according to a defined schedule. During a DAkkS calibration, tests for repeatability, accuracy and eccentric load are standard. The result: a meaningful calibration certificate with complete documentation.
Adjustment and repair included
If a scale shows unacceptable deviations during the calibration process, it can be adjusted by us. Should a technical defect become apparent – such as a damaged load cell or a defective cable – we will carry out a repair after consultation. In this case, we can document both the initial values (“as found”) and the final values (“as left”) separately in the calibration certificate on request.
Calibration intervals and quality assurance
How often a scale should be calibrated depends on the area of application, the internal QM specifications and the required accuracy. In practice, annual or semi-annual calibrations are common. This is because the greater the unnoticed deviation, the higher the risk of faulty processes – with potentially high follow-up costs.


